5 Van Racking Ideas for Carpenters You Can Do Yourself

Are you a carpenter working from your van? Great, then this page is for you. Having a mobile workshop is great and all, but it has its limitations.hich is mostly space. Since this is your workplace, getting the shelving right is - next to air conditioning - your number one priority.
I'm sure you know how to put the shelving in. Getting it right isn't the problem here, but coming up with great ideas can be tricky. But you don't have to reinvent the wheel. This article gives you 5 van racking ideas for carpenters to get started right away. So let's dive in.
Create a false bed with access at the rear and side doors
This is a no brainer if you're a carpenter and need to transport large pieces of plywood. Creating a false floor definitely adds a lot of storage to your mobile workshop.
This is the perfect hiding place for large 8x4 panels.
Ensure access at the rear and side door by using panels out of ply. If you only use supporting legs on the sides with supporting beams across, you can easily slide in large sheets of 8x4 ply from the rear. Create a removable hatch at the bulkhead to have access to smaller materials from the side door.
Pros: a lot of flexible storage space for large materials.
Cons: the height you take out at the bottom can limit your standing height in the van. If you need to work inside the van, make sure you have a high roof (H2 or H3) to ensure you can stand up straigt. Or use tip number ... to simply work outside.
Build a cabinet in the side door for crates and toolboxes
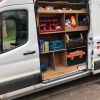
Building a van-high cabinet in the side door allows for easy access to your most-used tools and materials. Plan out the cabinet to fit your 'definitely-need' tools. A cabinet with 2 columns of wide, high shelves from the flooring up for about 3/4 should do the trick. Make sure these shelves are made-to-measure for your specific toolboxes and crates.
Above it, create a shelf for storing small materials such as cannisters, tape, hearing protection, etc. Provide this shelf with an edge to prevent anything from falling of.
Finish the cabinet by placing a column of solid plywood next to the two columns, and use this space to hang your screwdrivers and pliers from. This way, all your need-to-have tools are within reach, and you lose about 15" in your load area. It get's better in the next tip.
Pros: most-used tools at hand at all times.
Cons: the cabinet is bulky, you lose some space in the load area, and it's only accessible from the outside, which sucks when it's raining. But there's a solution, read on.
Place your side door cabinet on a swivel foot
If you want to be able to access this cabinet from the inside as well, simply place the entire cabinet on a swivel plateau. This way, if you're ie. working inside of your van and need your favorite tools at hand, you simply rotate the entire cabinet. The front becomes the back, and your entire toolbox cabinet is now facing the inside.
This requires some serious measuring, since the cabinet can only rotate towards the bulkhead. Just don't forget to place a lock which secures the system in place while driving.
Pros: flexibility in deciding where you need your tools.
Cons: you need to keep the bulkhead area clear, so you can't build an inside cabinet there.
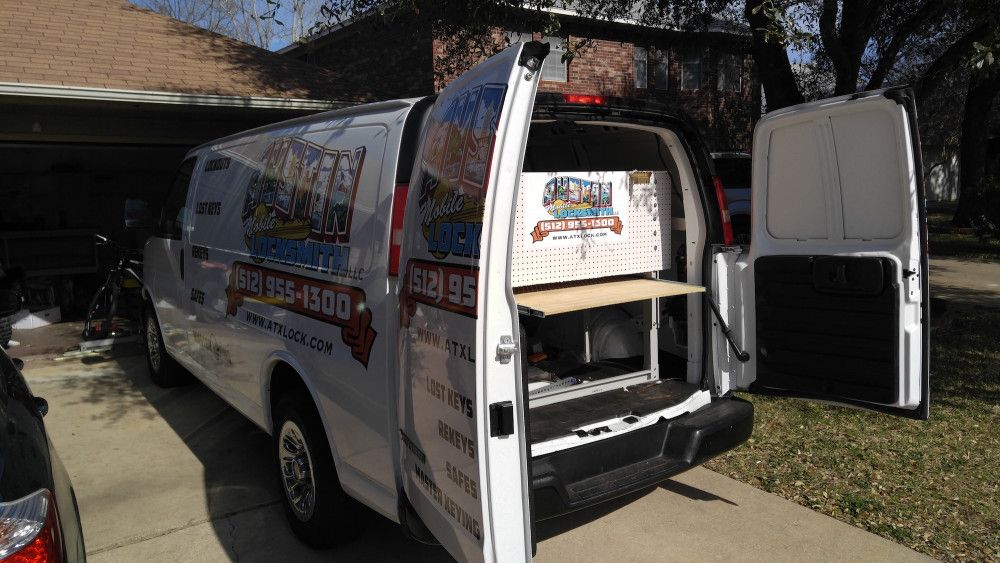
Create a slide-out workbench
Gonna do a full length workbench? If you plan it right, you can fit a slide-out workbench at the rear or side of the van. A simple sheet of (thick) plywood with foldable legs will get the job done. This allows you to work outside and extend your working space considerably. You do however need to keep three things in mind:
- If it rains, you will get, and so will your equipment (you can fix this though, check out tip ...).
- You can't use this workbench as a regular storage shelf whenever it's inside the van. Or you need to like to move everything on the shelf whenever the sun's out and you feel like working outside.
- Also, make sure the legs are adjustable, so you can offset the height of the curb/your van when loaded. Nobody likes a slanting workbench.
If you do this right, you can fit on your miter saw.
When planning your workbench, run the slide out top over the entire length of the load area. To create the slide out system, use heavy duty rails or gliders at the sides of the worktop.
Make sure to stop the inside workbench about 40cm in from the rear. This way, the slide out top will stick out of the inside workbench for about 40cm.
Now you can mount your miter saw at the end, using the strength of the side gliders to keep the weight.
If you pull out your worktop, the miter saw comes out of the van, and rests on top of the legs. You can use it inside as well. Two birds, one stone.
Pros: easily create double the workspace, work outside when it's sunny, operate the miter saw both in and outside the van.
Cons: you can't use this slide out top as a regular shelf.
Create long slide out drawers for your lengthy tools
If you do plan on false flooring, make sure to reserve a spot at the rear. It's the perfect storage space for your levels and other long tools. Place the drawers at the side for keeping the main under-floor storage clear. This should give you plenty of space to still slide in loads of 8x4's.
If you do a shallow drawer at the side door as well, you get a perfect storage for small materials or tools. This way, you make optimal usage of the entire length of the load area, and it only costs you about 40cm of the load area.
Pros: protects your fragile levels and straight edges, doesn't cost a lot of space, the side drawer is perfect for easy access to accessoiries and small tools such as pliers or drills.
Cons: not many, you lose a narrow strip of the under-floor storage, drawers are less flexible (but more organized!).
If you're planning the layout of your van shelving, I've created a database with the interior dimensions of most popular vans. I think it's helpful for any drawings or orders. Check the dimensions for your van here.
Did you find the answer to your specific question?
👍 3 👎 3
Are you looking for the dimensions of your van?

